BrickLink – How to use XML File
Das Problem: Ein MOC auf BrickLink kann nicht mit Teileliste angeboten werden, da es z.B. Design- / Rechtetechnisch nah an den original Lego Sets liegt.
The problem: A MOC on BrickLink cannot be offered with a parts list because it is close to the original Lego sets in terms of design and rights.
Die Lösung: XML Dateien
Als Designer kann man bei seinem MOC eine XML Datei erstellen und zum Download anbieten.
Wie Ihr diese dann nutzen könnt erkläre ich euch in diesem Tutorial.
The solution: XML files
As a designer, you can create an XML file for your MOC and offer it for download.
I’ll explain how you can use them in this tutorial.
You need:
- Bricklink Account
- XML File
- Editor Programm (Notepad…)
1. Wanted Liste erstellen / Create Wanted List
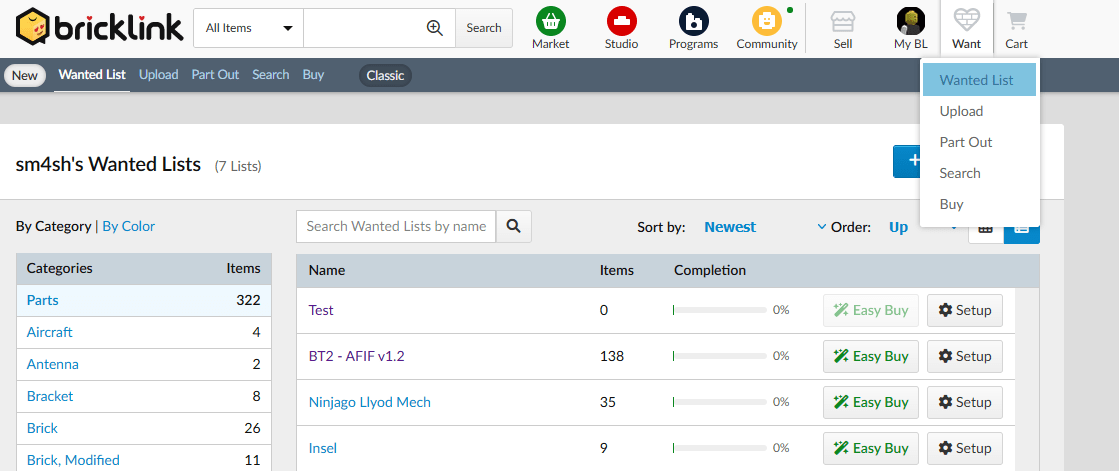
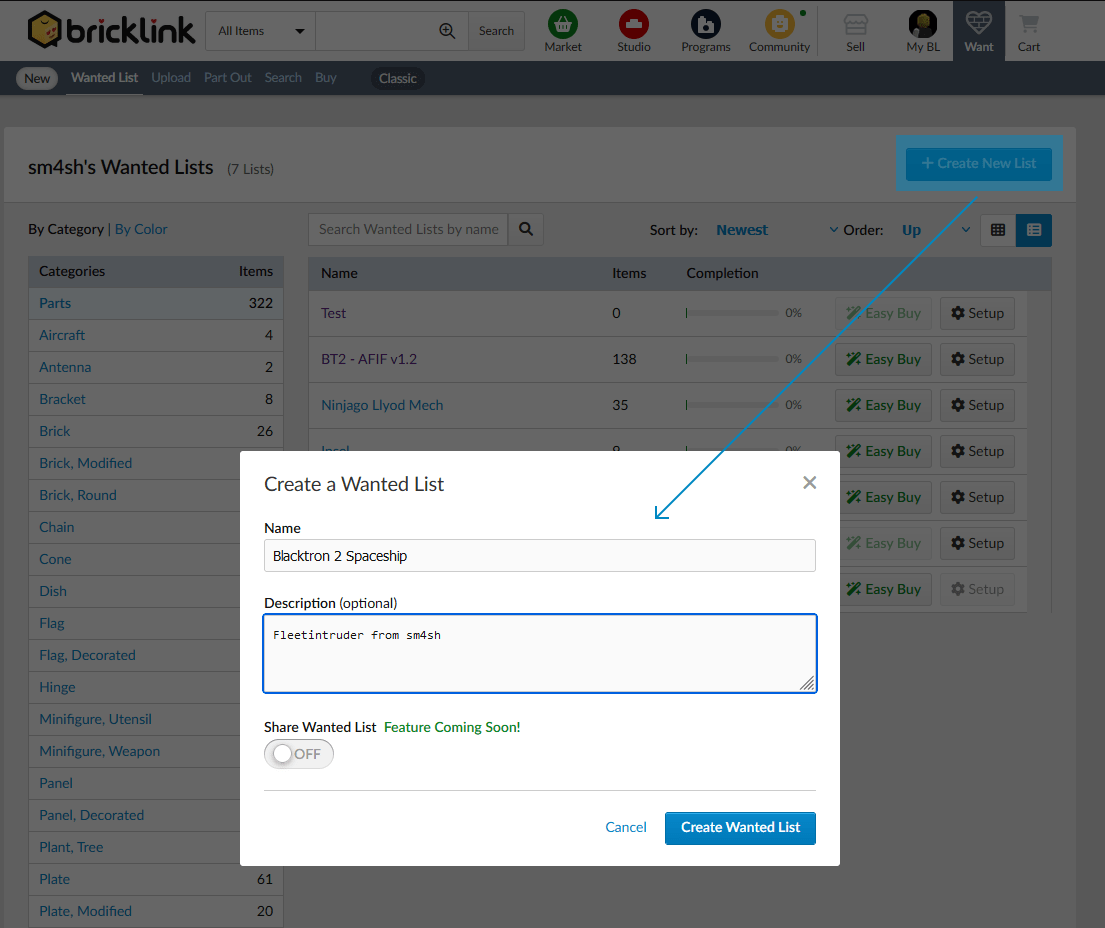
Zuerst erstellen wir eine Wanted Liste: Wenn Ihr eingelogt seid geht auf das Herz und klickt dort auf „Wanted List“. Im folgenden Popup gebt Ihr der Liste einen Namen und speichert diese mit „Create Wanted List“.
First we create a wanted list: When you are logged in go to the heart and click on „Wanted List“. In the following popup you give the list a name and save it with „Create Wanted List“.
2. Upload aus dem Dropdown auswählen / Upload Dropdown Menü
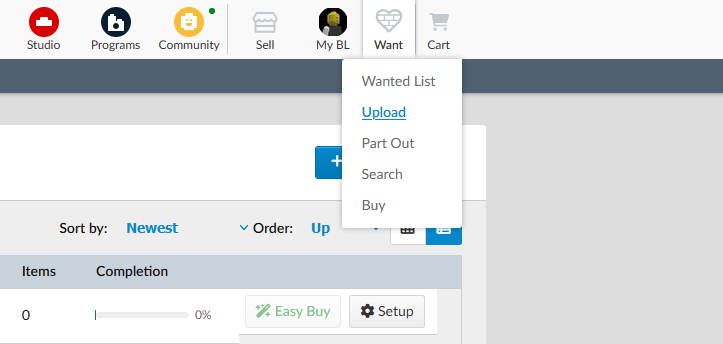
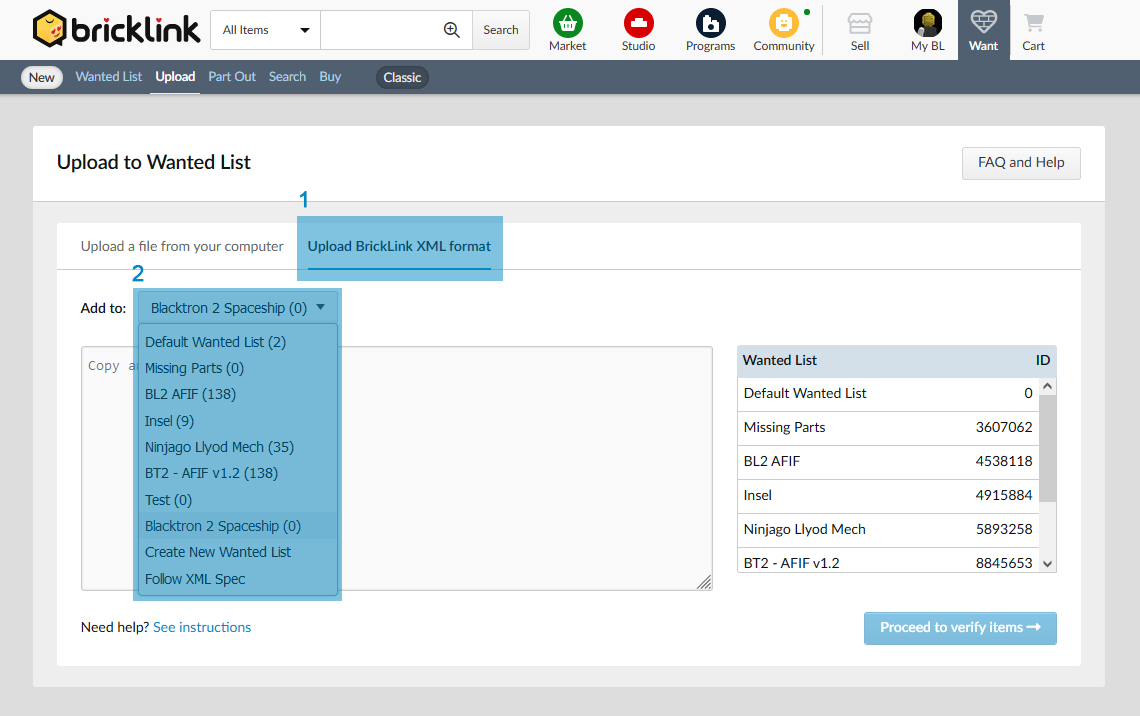
Nun geht ihr wieder über das Herz auf „Upload“ (In der Wanted List ist auch ein Upload Button, der geht aber nicht). Auf der Seite wechselt Ihr nun in den Reiter „Upload BrickLink XML format“(1), wählt unter „Add to:“(2) die zuvor erstellte Liste aus. Hier könnt Ihr im Prinzip auch einfach eine neue Liste erstellen.
Now you go again over the heart to „Upload“ (there is also an upload button in the wanted list, but it doesn’t work). On the page you now switch to the „Upload BrickLink XML format“(1) tab, select the previously created list under „Add to:“(2).
Basically you could also create a new list here.
3. XML Datei öffnen, kopieren & einfügen / open XML file, copy & paste
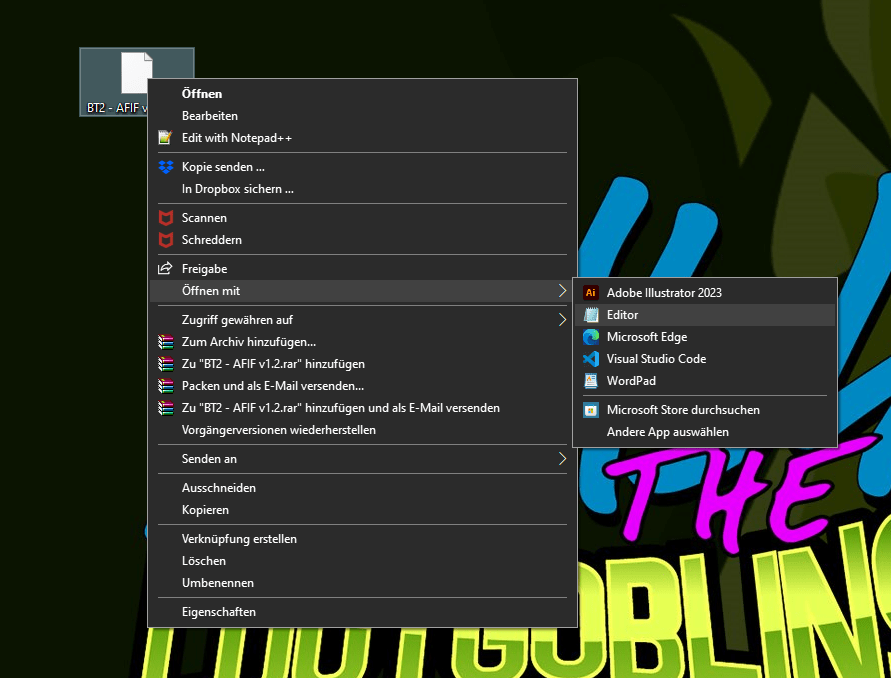
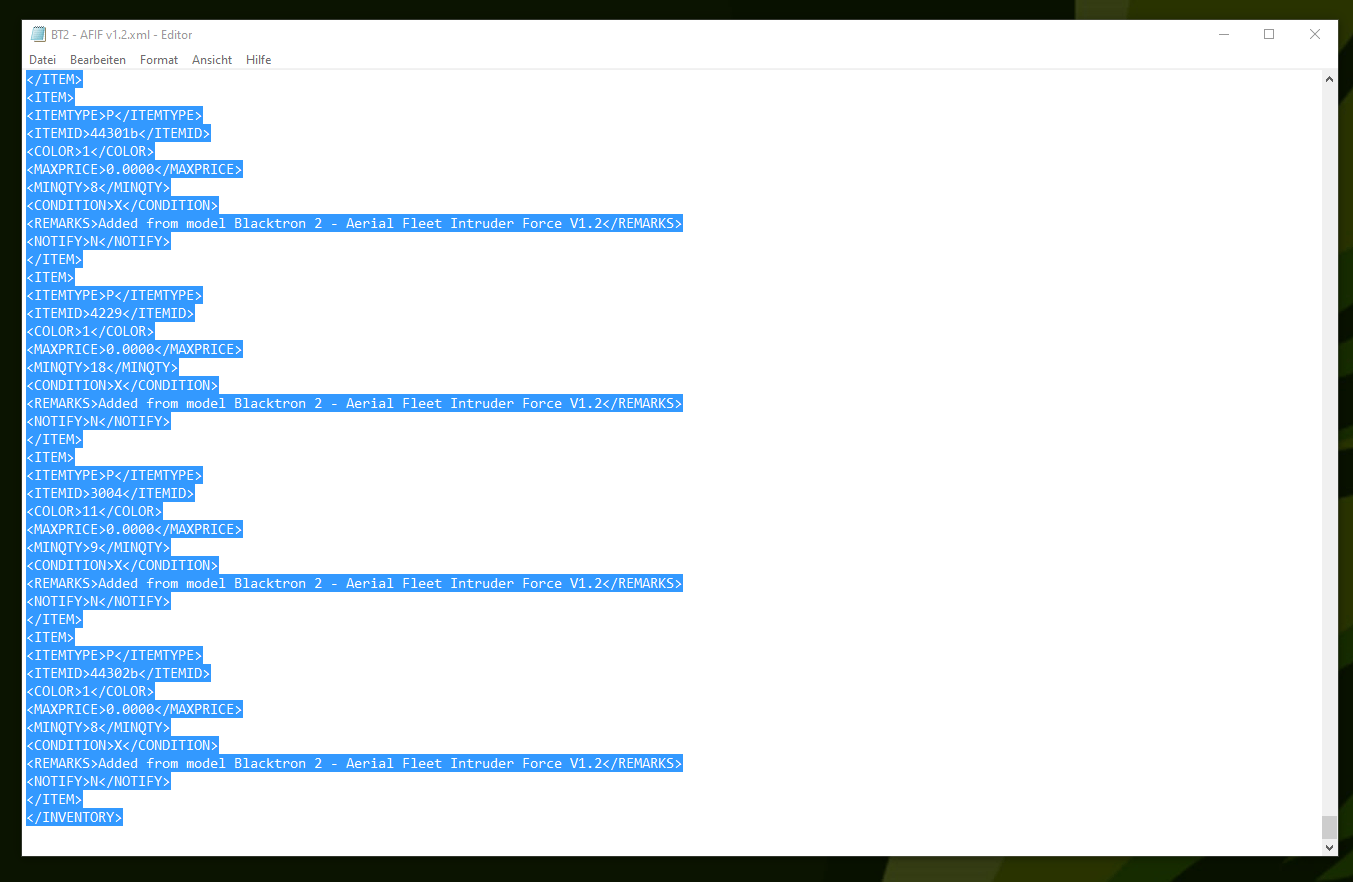
Nun geht ihr auf eure XML Datei und öffnet diese mit dem Editor (oder einem anderen Textbearbeitungsprogramm). Den Inhalt aus der Datei kopiert Ihr dann 1:1 in das Fenster auf der Webseite und klickt dann auf „Proceed to verify items“.
Now go to your XML file and open it with Notepad (or another text editing program). You then copy the content from the file 1:1 into the window on the website and then click on „Proceed to verify items“.
4. Hinzufügen & feddich / add and success
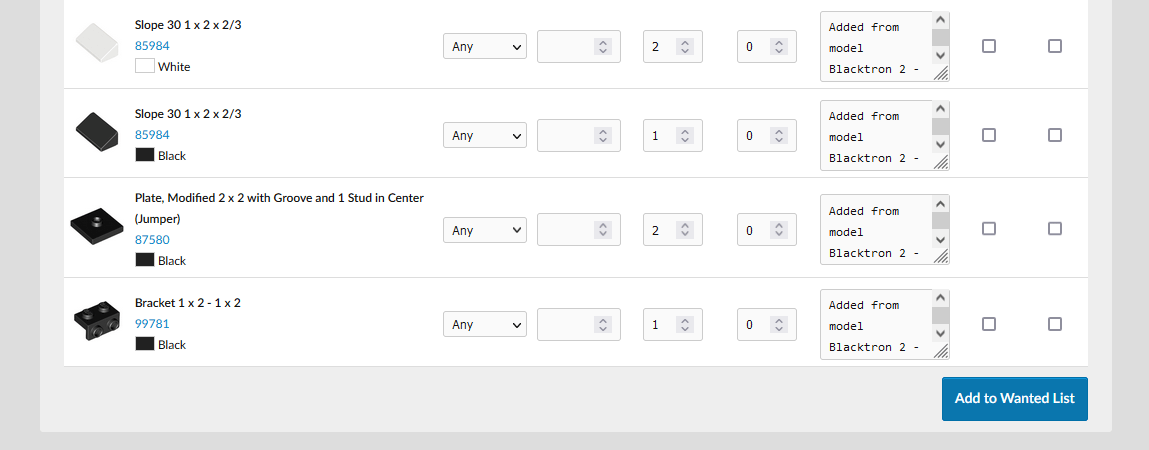
Nun wird die Liste erstellt, Ihr habt die Optionen auch schon Steine nicht zu übernehmen. Wollt ihr aber einfach erstmal alles in eure Liste übernehmen, scrollt runter und klickt auf „Add to Wanted List“.
Zack – Und schon habt ihr die Liste und könnt auf Shop suche gehen. :)
The list is created, you now have the options not to include bricks. But if you just want to add everything to your list first, scroll down and click on “Add to Wanted List”.
Easy! – You got the list and can go to search for the best shop to get your LEGO Bricks. :)
